Step-by-step guide to installing the Happ VPN client on Windows
Step 1. Download the app
Follow the link and download the Happ VPN client installer:
https://github.com/Happ-proxy/happ-desktop/releases/latest/download/setup-Happ.x64.exe
Step 2. Install the app
- Find the downloaded file setup-Happ.x64.exe.
- Right-click on it.
- Select "Run as administrator".
Important! Without administrator rights, the application will not be able to create a VPN connection.
- Follow the installer instructions until the installation is complete.
Step 3. Launch the app
After installation:
- Launch the Happ app using the desktop shortcut
- Or find it through the Start menu
Step 4. Adding the link from user dashboard
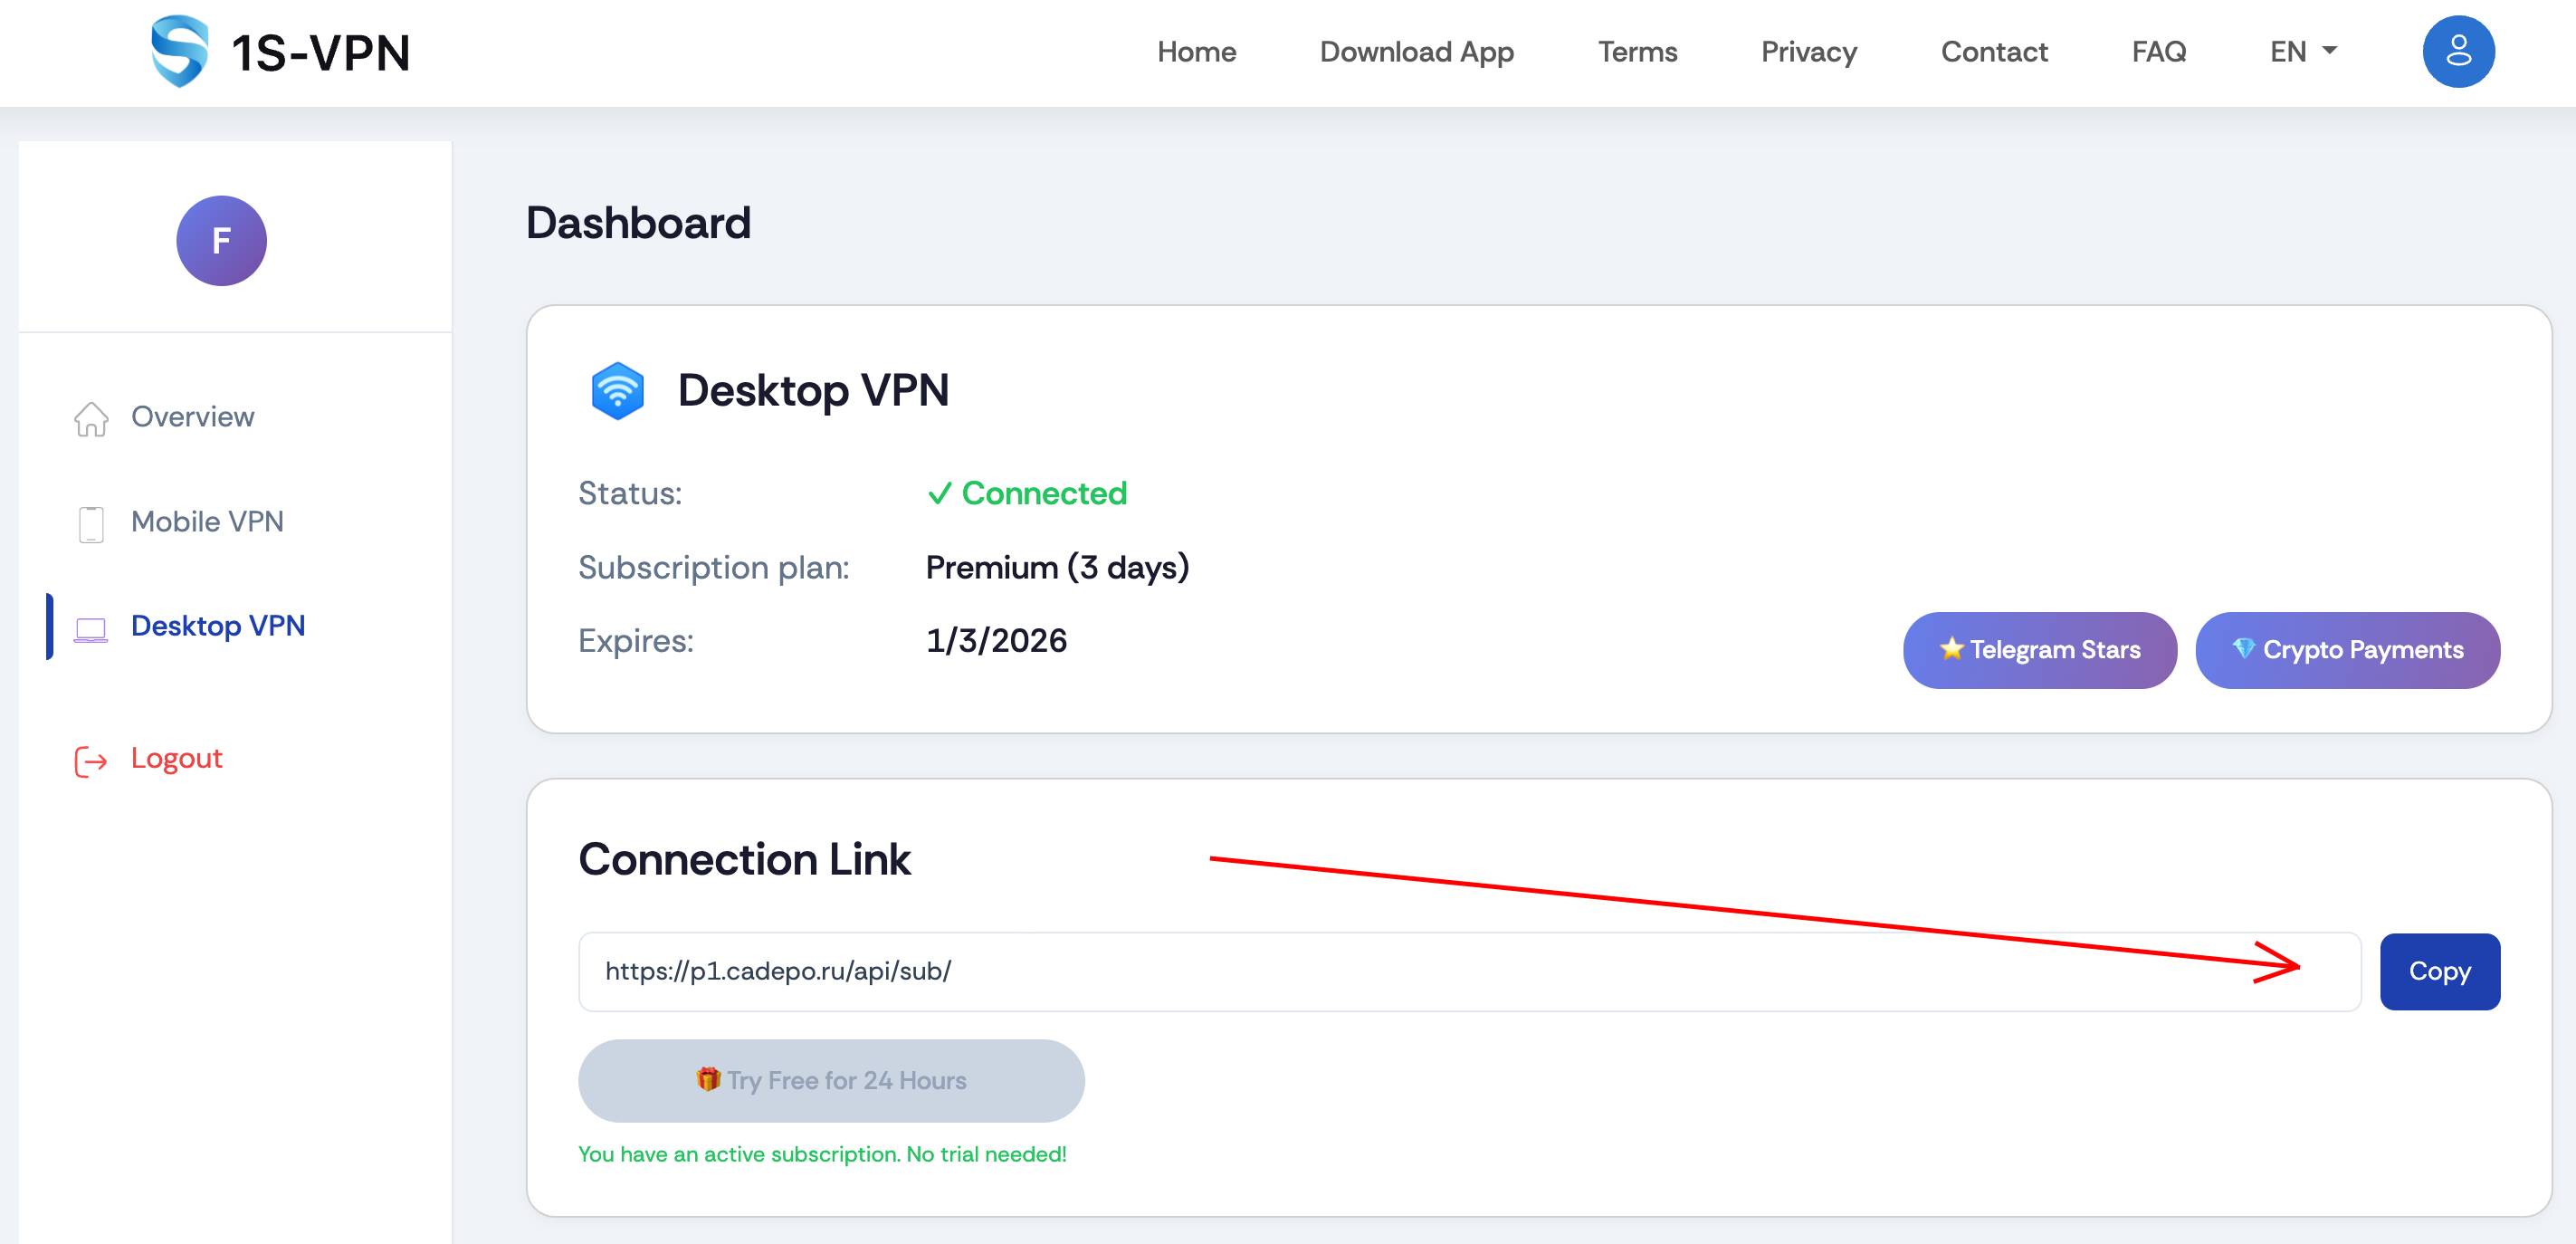
- Open your user dashboard.
- Copy the connection link provided to you.
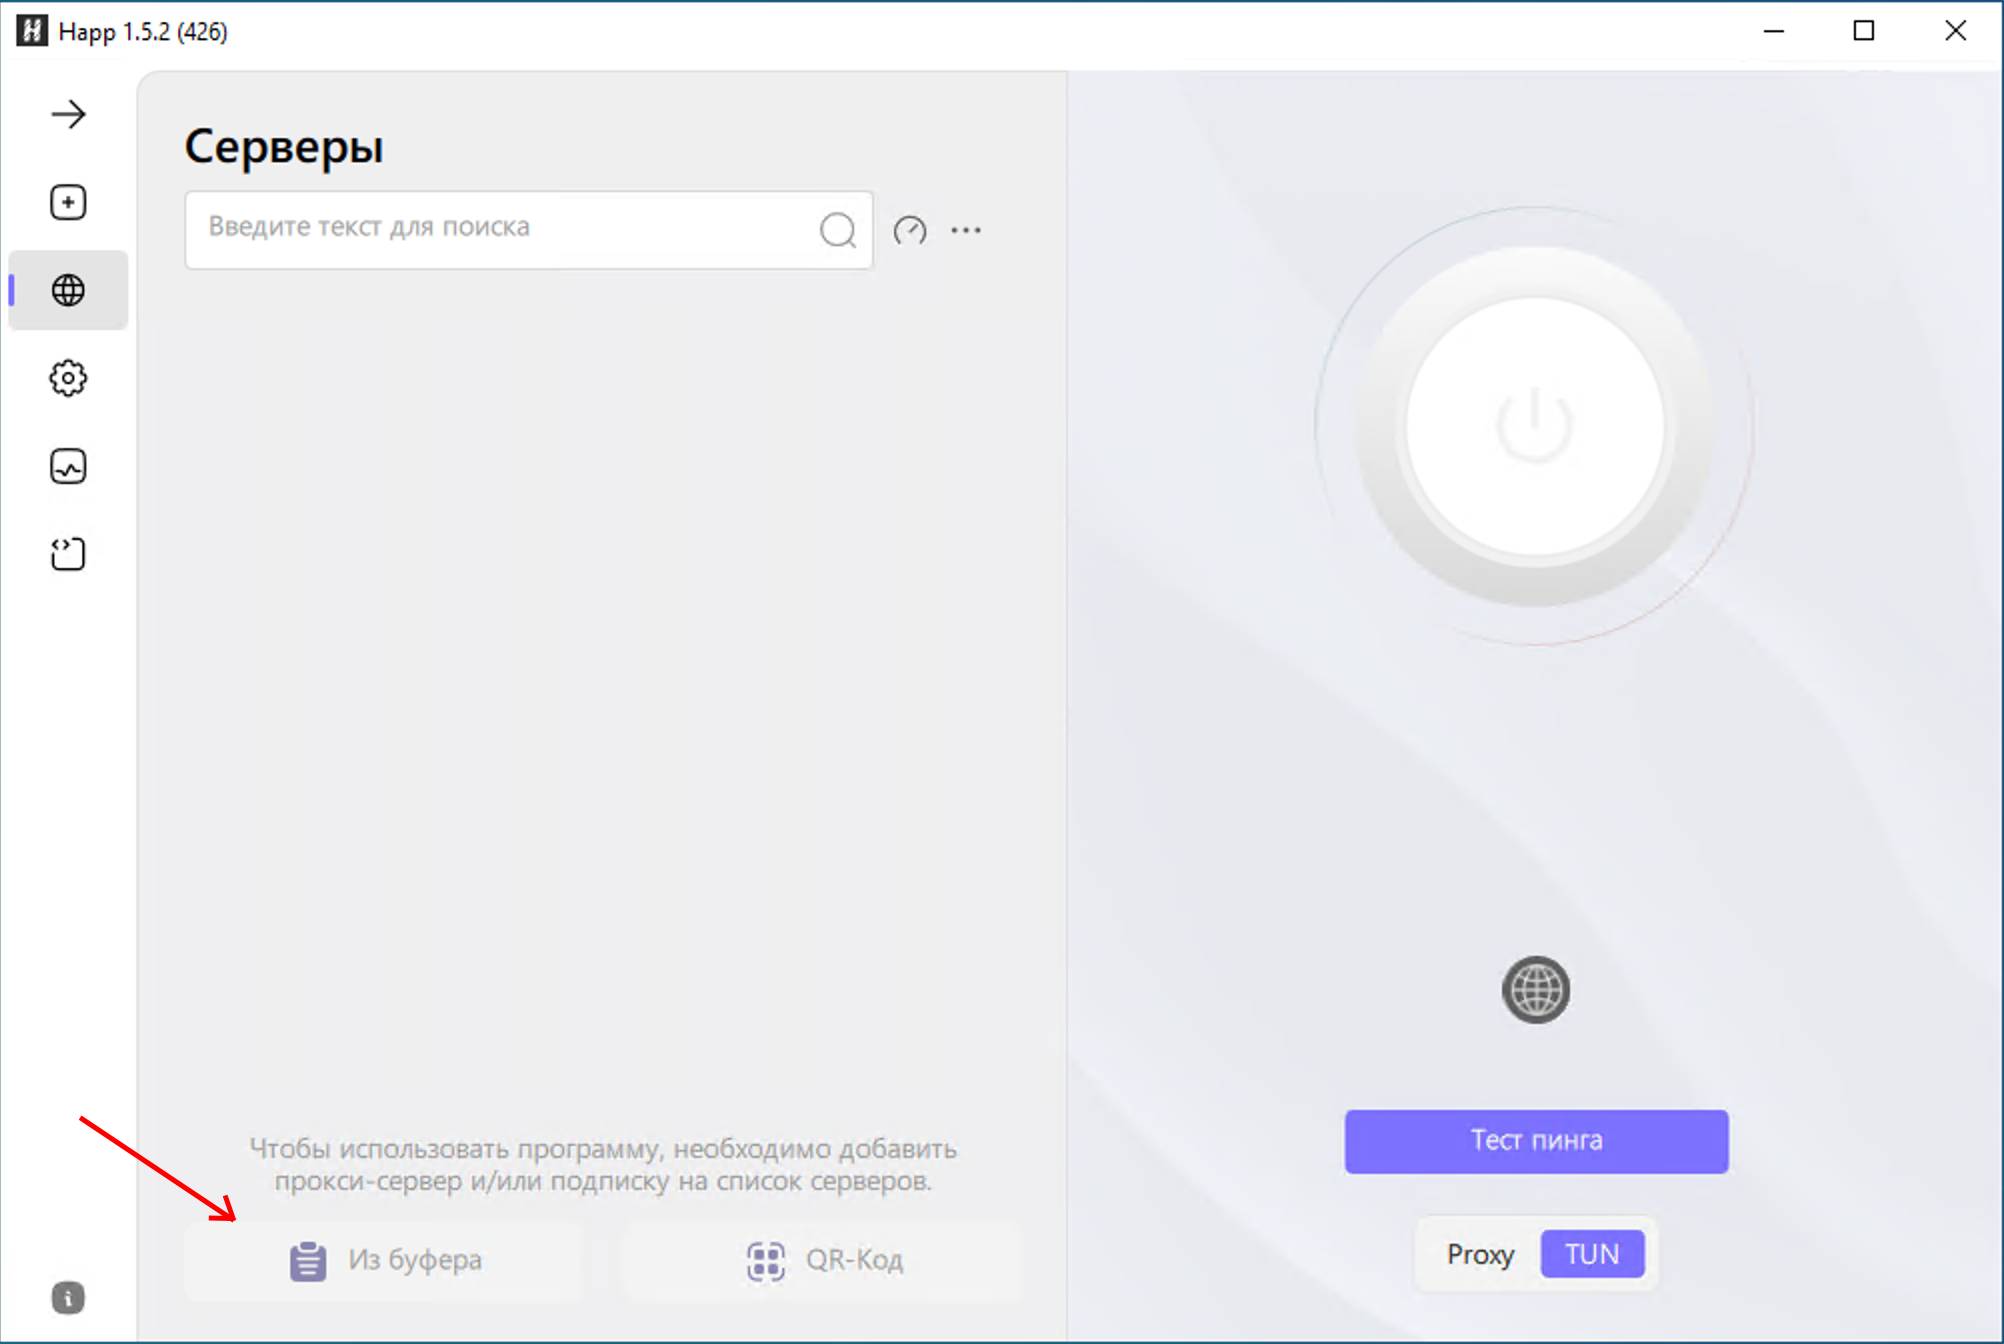
- In the Happ app, click the "From Clipboard" button — the link will be pasted automatically.
Step 5. Connecting to VPN
Click the connect button at the top of the application window.
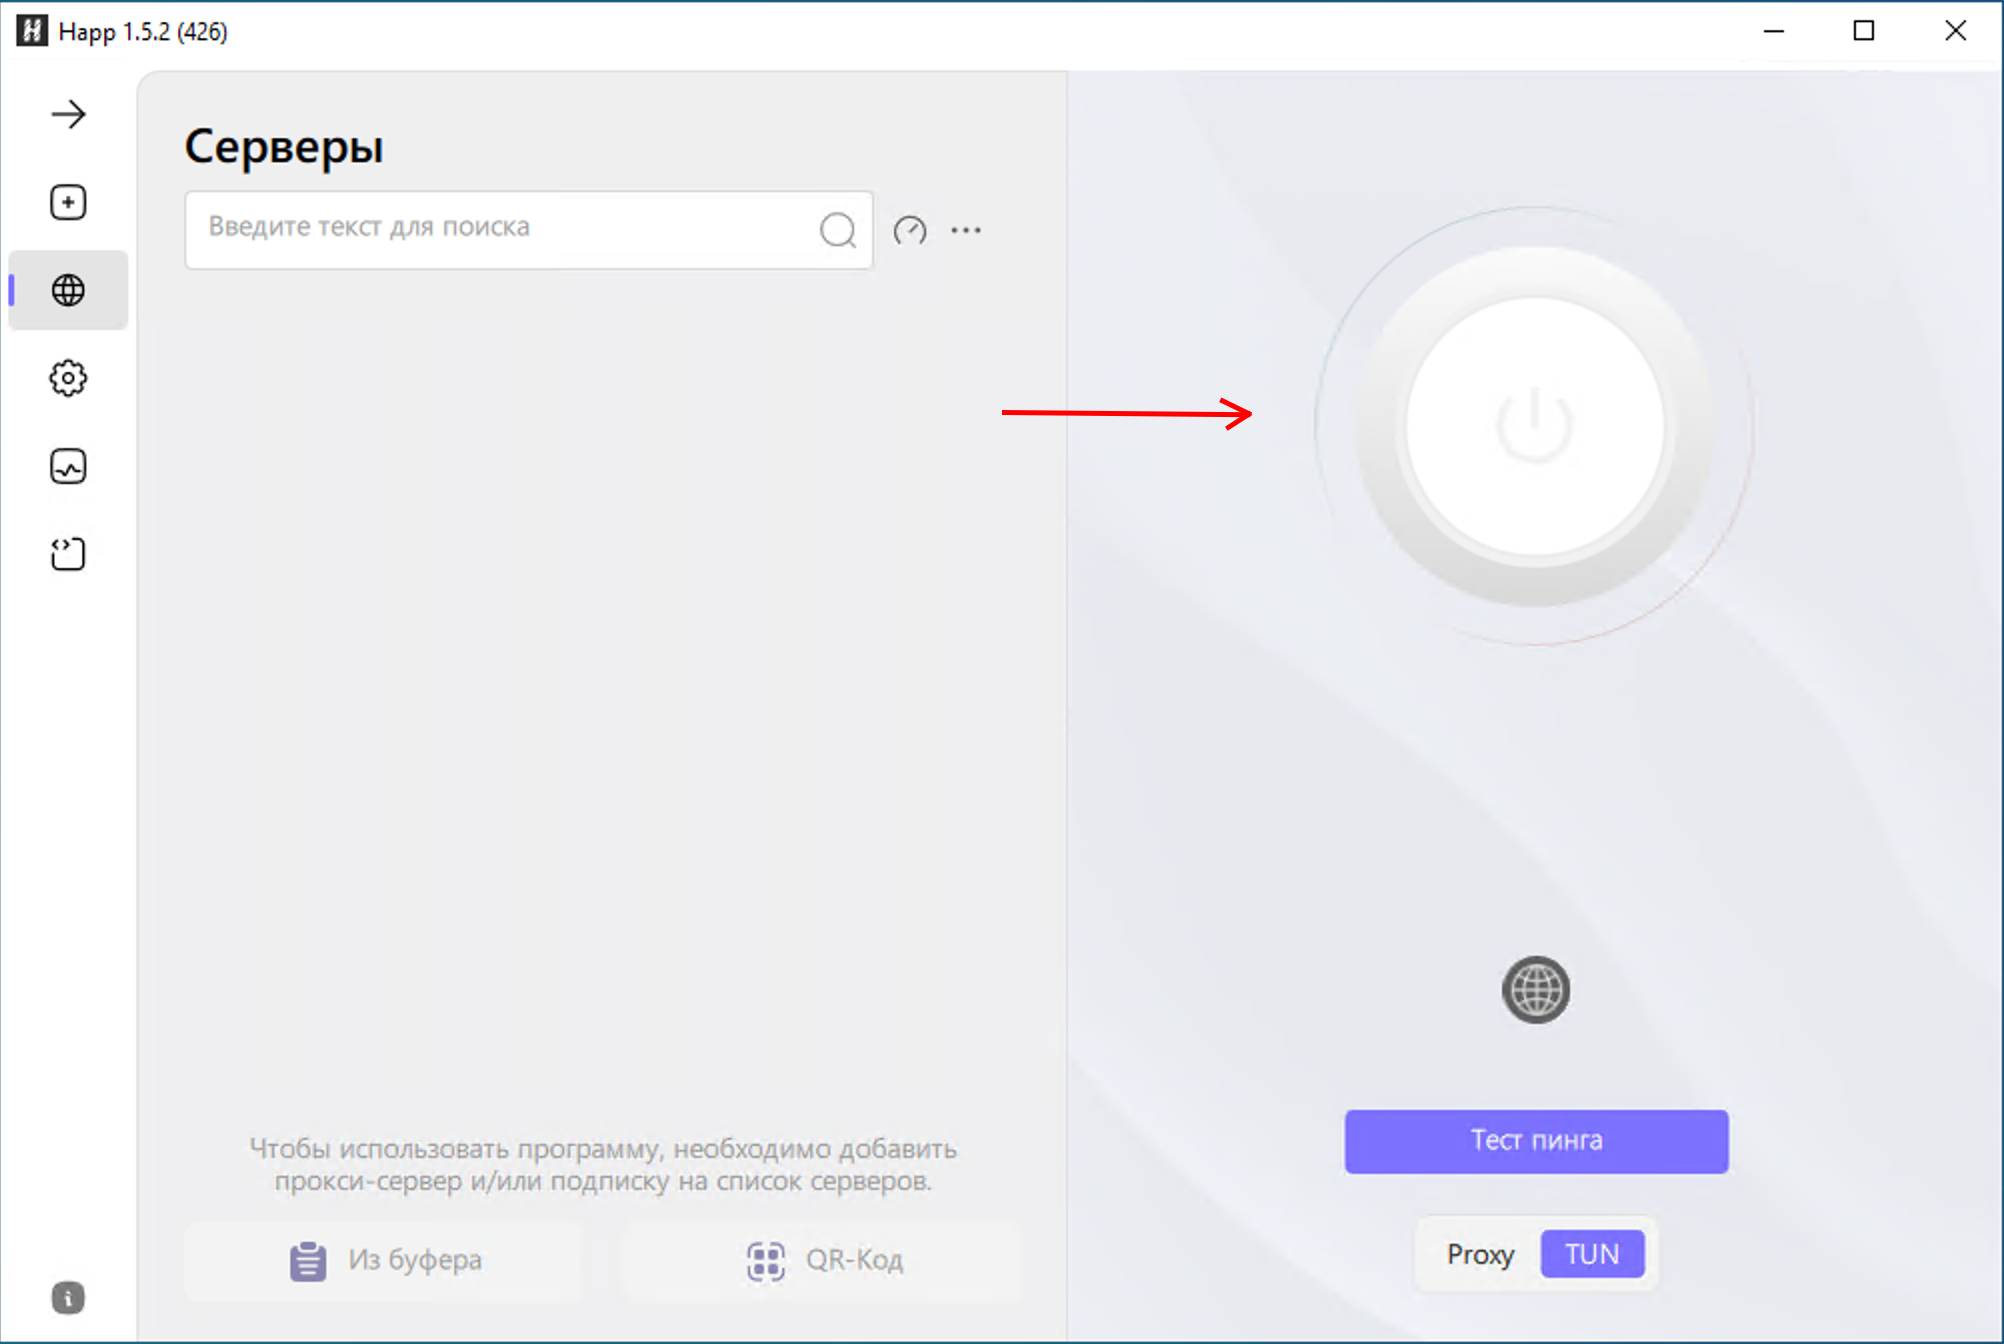
After a successful connection, you will have access to the internet through VPN.
✅ Done! Now your VPN connection is ready to use.