Step-by-step guide to installing the Happ VPN client on MacOS
Step 1. Download the app
Follow the link and download the Happ VPN client from the App Store:
Global version:
https://apps.apple.com/us/app/happ-proxy-utility/id6504287215
Russian version:
https://apps.apple.com/ru/app/happ-proxy-utility-plus/id6746188973
Step 2. Install the app
- Click the "Download" / "Install" button in the App Store.
- Wait for the installation to complete.
Important! On first launch, macOS will ask for permission to add a VPN configuration.
- When prompted, click "Allow" and enter your macOS user password.
Step 3. Launch the app
After installation:
- Launch the Happ app via Launchpad
- Or find it in the Applications folder
Step 4. Adding the link from user dashboard
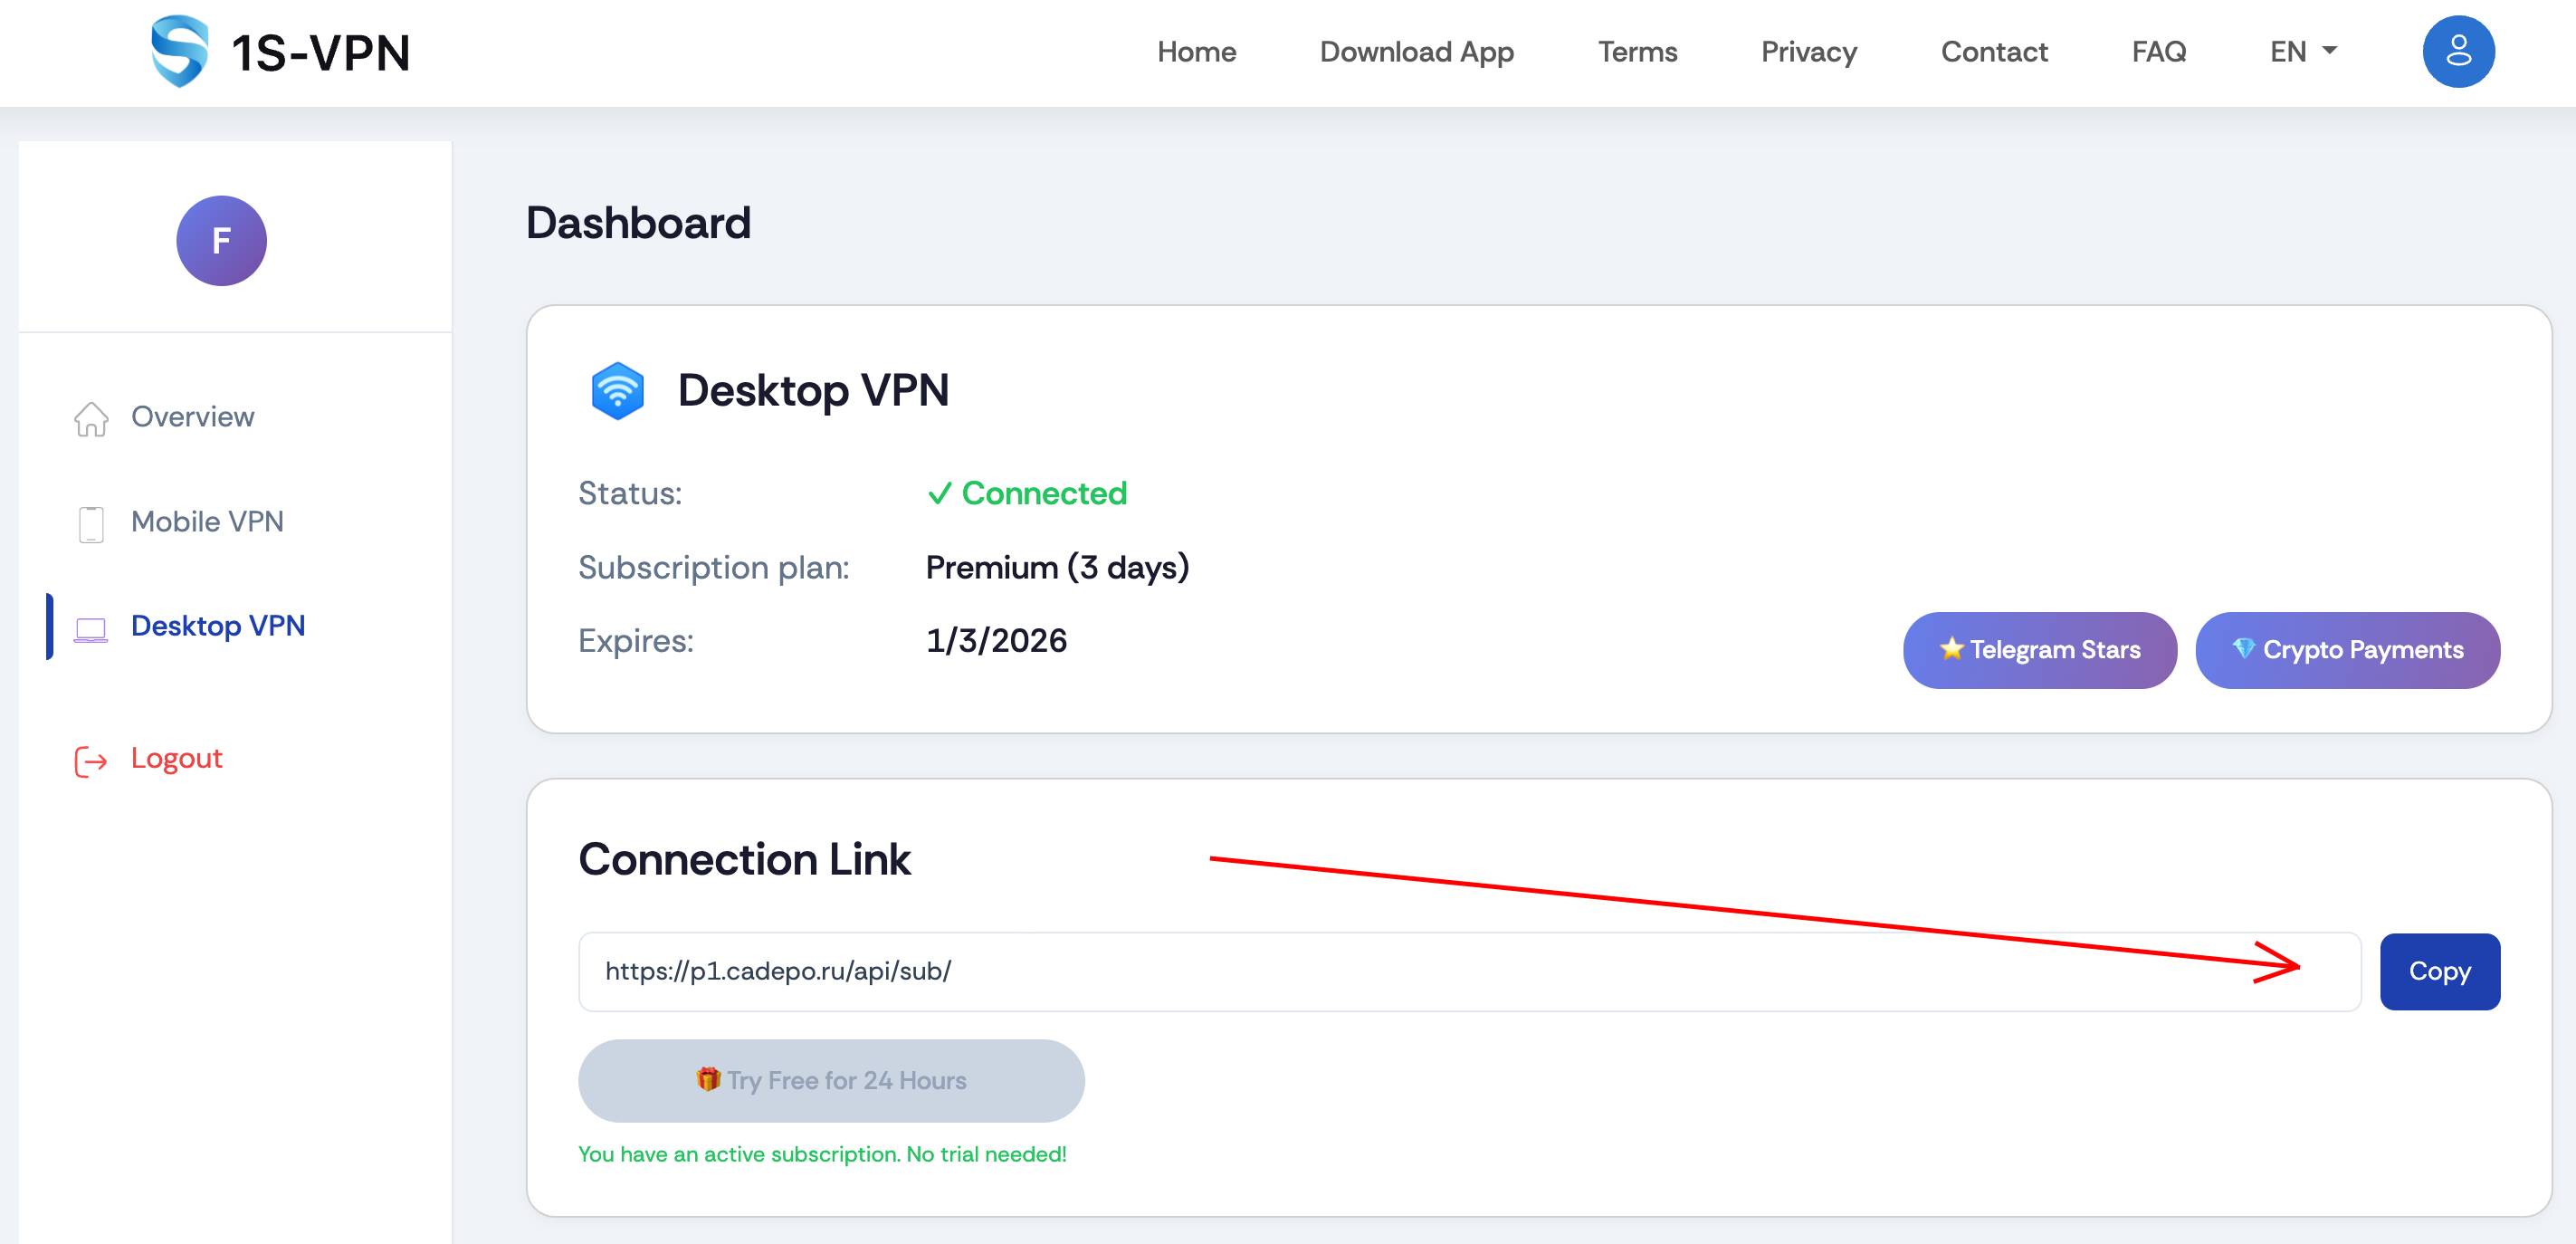
- Open your user dashboard.
- Copy the connection link provided to you.
- In the Happ app, click the "From Clipboard" button — the link will be pasted automatically.
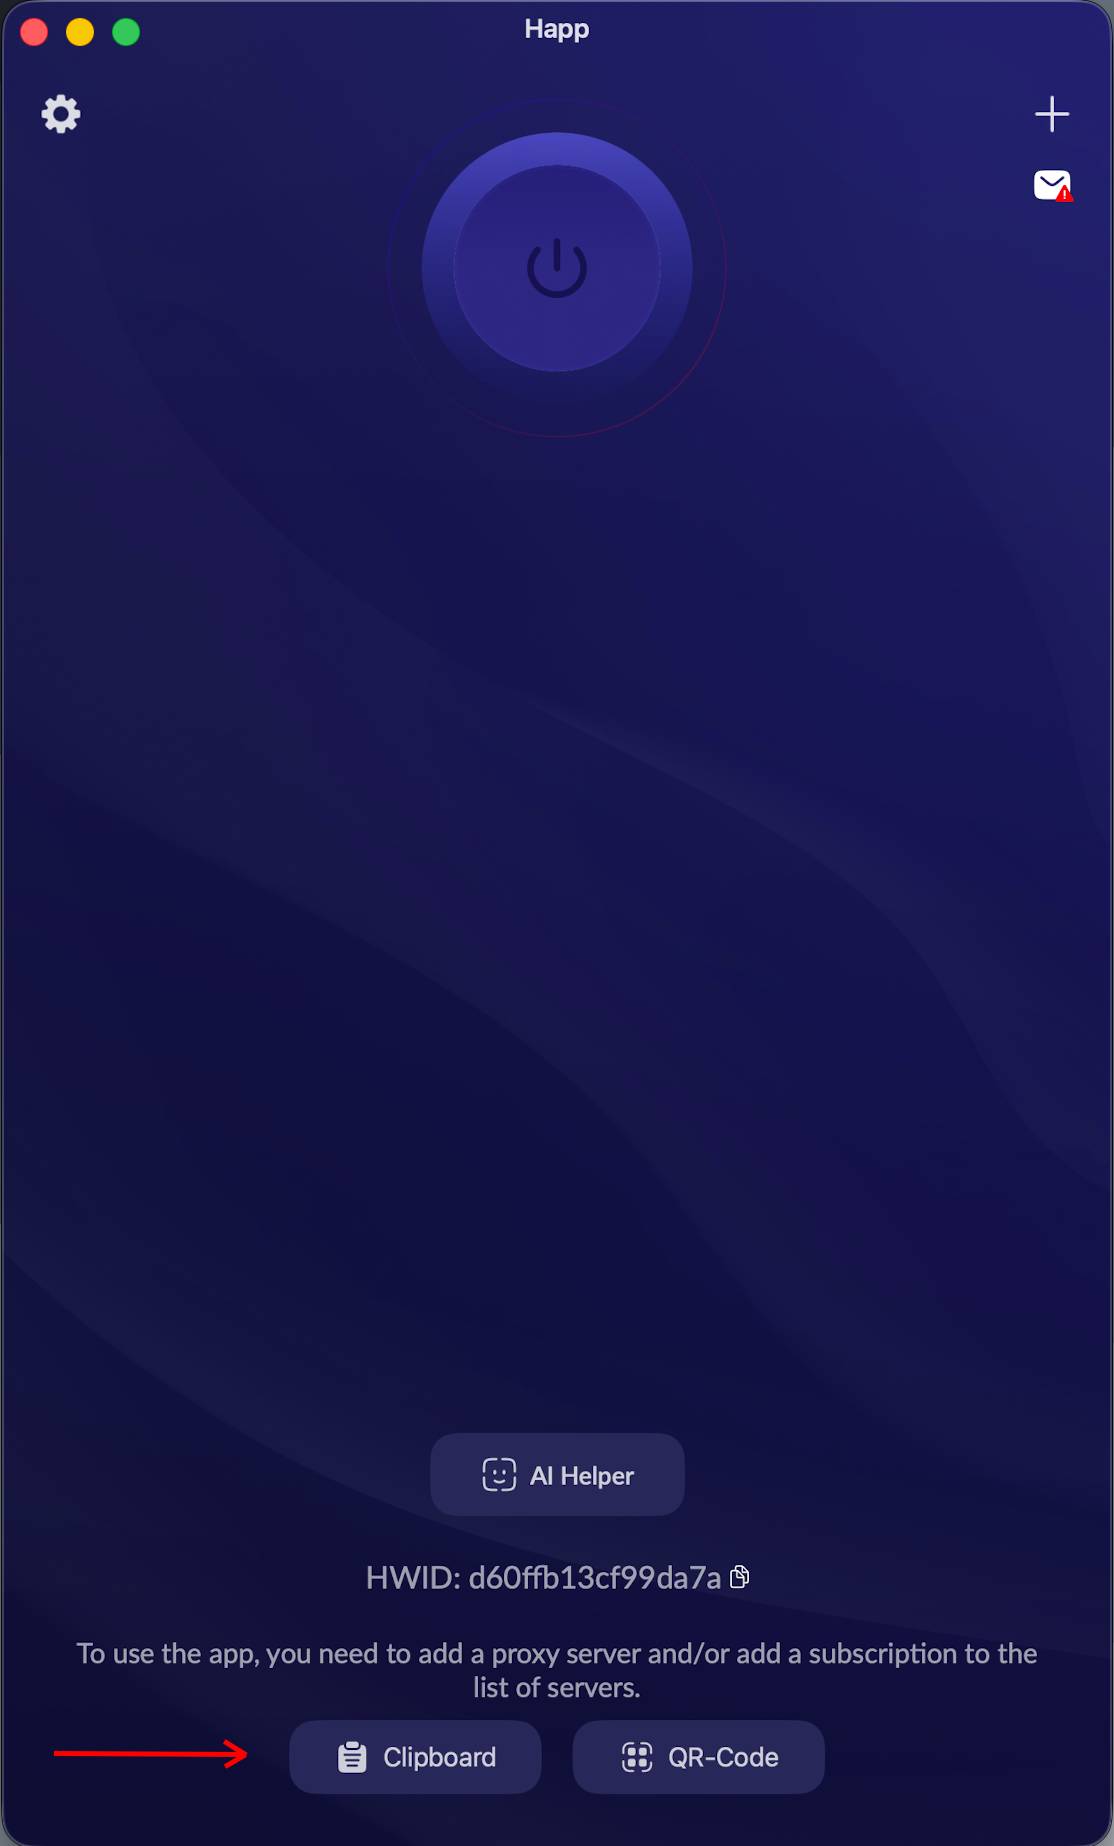
Step 5. Connecting to VPN
Click the connect button at the top of the application window.

After a successful connection, you will have access to the internet through VPN.
✅ Done! Now your VPN connection is ready to use.